Configure iVentoy as netboot-Option in boot menu
-
firsteval i will thank @baovipboy156 and @george1421 for helping me to make this configuration.
iVentoy is the next generation of Ventoy. It is a new netboot solution which could be used to run iso files directly from the PXE-Boot. Just put the ISO-Files in the right folder then you can see it as new boot option on iVentoy. It is very useful you do not have to set every OS on PXE boot menu of Fog-Server.
Attention: It is free to use till 20 devices and you are not allowed to use it for commercial purposes. For more information https://www.iventoy.com/en/doc_edition.html
in my example:
my dhcp Server: 192.168.111.1
my Fog Server: 192.168.111.125
my iVentoy Server: 192.168.111.122Remember this is the basic configurations “same vlan”. that is why i will use the following configuration on iVentoy Server:
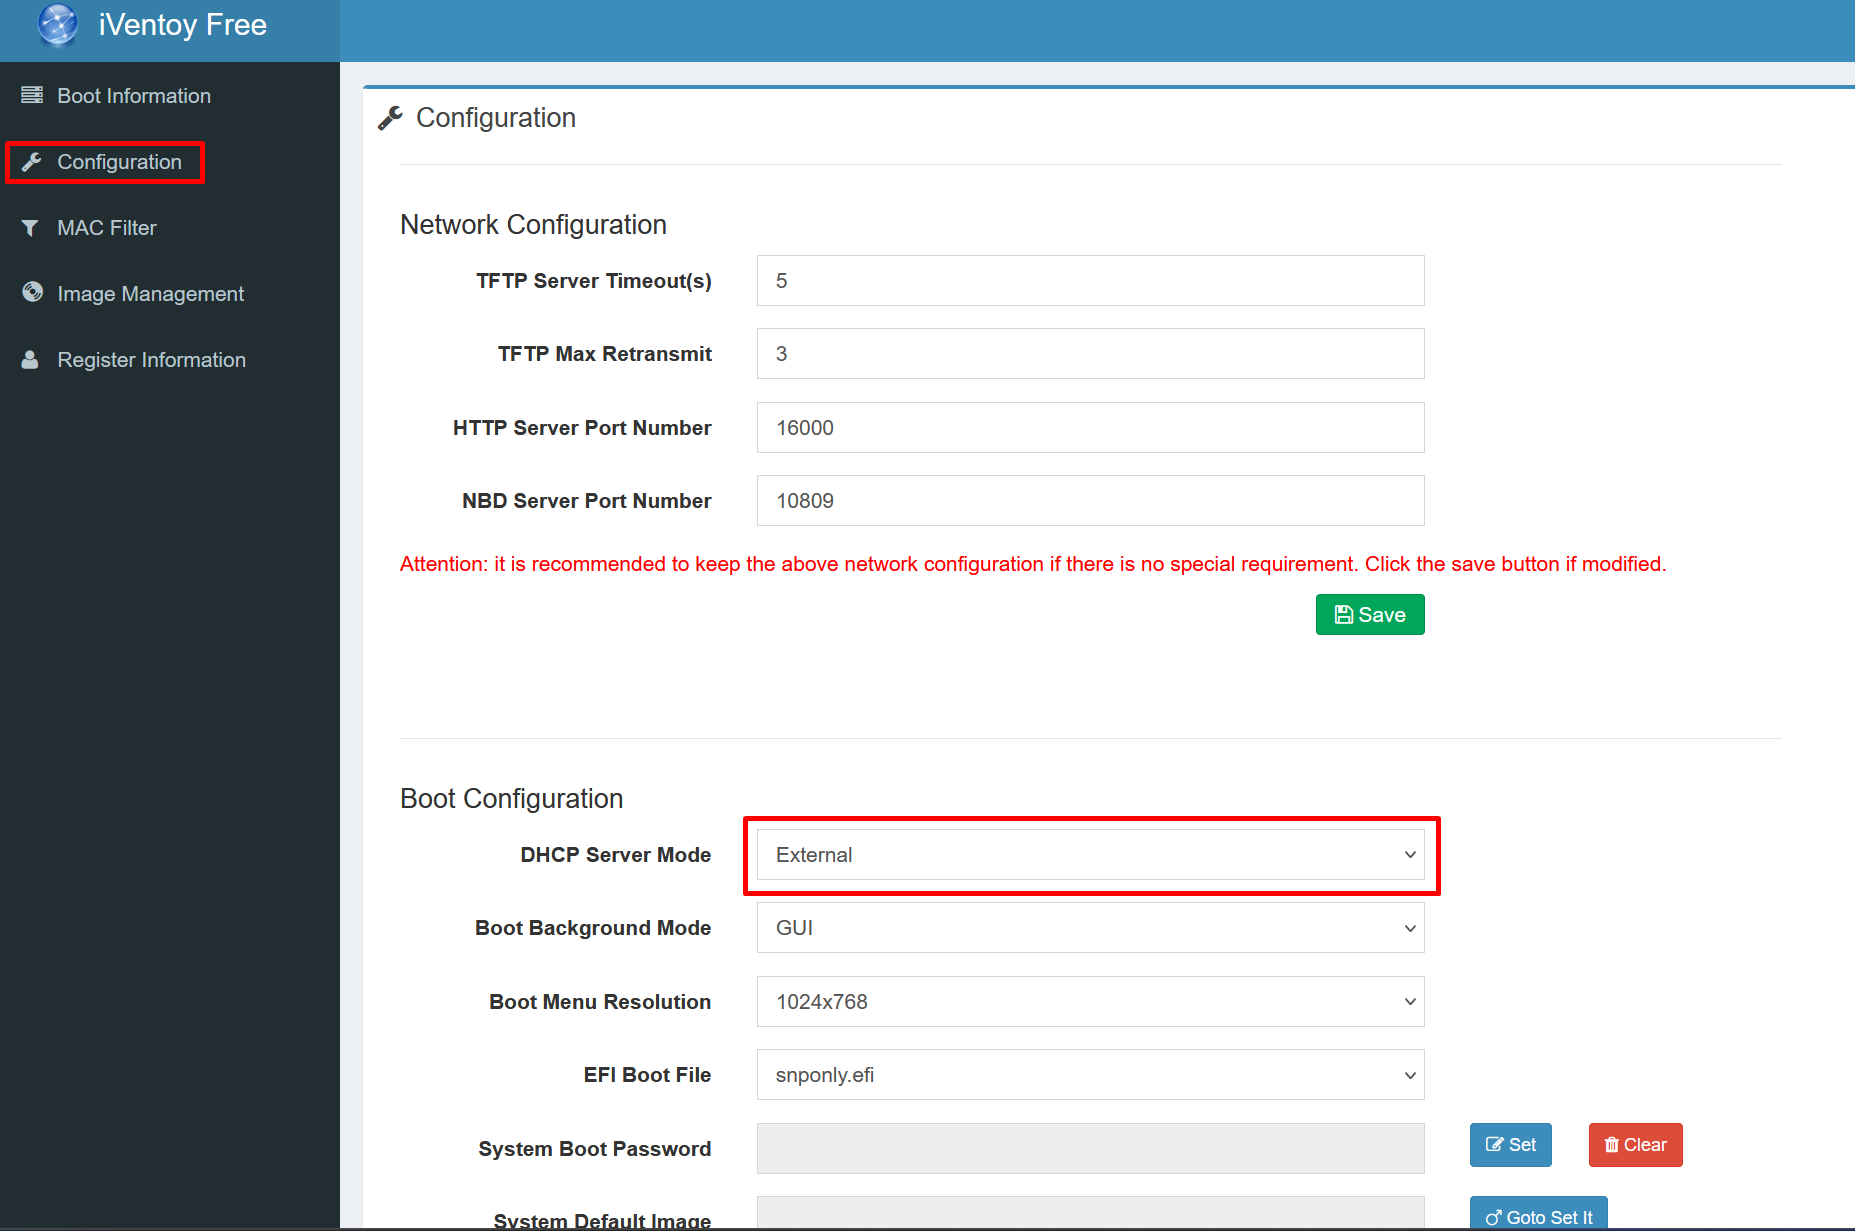
after save start the tftp boot service from “Boot Information”.
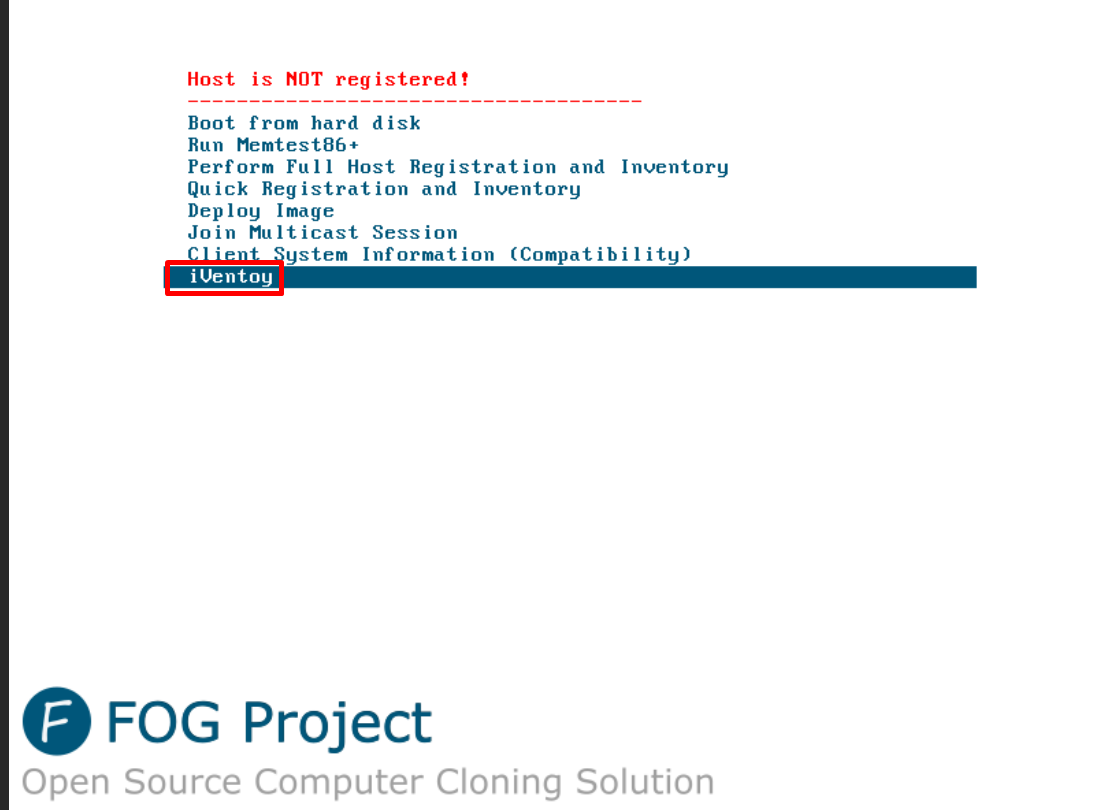
Then we have to add new boot option on Fog Server:
Menu Item       iVentoy
Description     iVentoy
Parameters      set newserver:ipv4 192.168.111.122 # ip adresse of iVentoy
                set newbootfile iventoy_loader_16000
                set net0/next-server ${newserver}
                set net0/filename ${newbootfile}
                chain tftp://${newserver}/iventoy_loader_16000
Menu Show       with  All Hosts
in the dhcpd.conf file Server edit the classes:
    class "UEFI-32-1" {
        match if substring(option vendor-class-identifier, 0, 20) = "PXEClient:Arch:00006";
        if exists user-class and option user-class = "iVentoy" {
            filename "iventoy_loader_16000_uefi";
            next-server 192.168.111.122; # IP Address of iVentoy
        } else {
            filename "i386-efi/ipxe.efi";
        }
    }

    class "UEFI-32-2" {
        match if substring(option vendor-class-identifier, 0, 20) = "PXEClient:Arch:00002";
        if exists user-class and option user-class = "iVentoy" {
            filename "iventoy_loader_16000_uefi";
            next-server 192.168.111.122; # IP Address of iVentoy
        } else {
            filename "i386-efi/ipxe.efi";
        }
    }

    class "UEFI-64-1" {
        match if substring(option vendor-class-identifier, 0, 20) = "PXEClient:Arch:00007";
        if exists user-class and option user-class = "iVentoy" {
            filename "iventoy_loader_16000_uefi";
            next-server 192.168.111.122; # IP Address of iVentoy
        } else {
            filename "ipxe.efi";
        }
    }

    class "UEFI-64-2" {
        match if substring(option vendor-class-identifier, 0, 20) = "PXEClient:Arch:00008";
        if exists user-class and option user-class = "iVentoy" {
            filename "iventoy_loader_16000_uefi";
            next-server 192.168.111.122; # IP Address of iVentoy
        } else {
            filename "ipxe.efi";
        }
    }

    class "UEFI-64-3" {
        match if substring(option vendor-class-identifier, 0, 20) = "PXEClient:Arch:00009";
        if exists user-class and option user-class = "iVentoy" {
            filename "iventoy_loader_16000_uefi";
            next-server 192.168.111.122; # IP Address of iVentoy
        } else {
            filename "ipxe.efi";
        }
    }

    class "Legacy" {
        match if substring(option vendor-class-identifier, 0, 20) = "PXEClient:Arch:00000";
        if exists user-class and option user-class = "iVentoy" {
            filename "iventoy_loader_16000_bios";
            next-server 192.168.111.122; # IP Address of iVentoy
        } else {
            filename "undionly.kkpxe";
        }
    }
}
restart your DHCP-Server and test your configuration on fog Client.
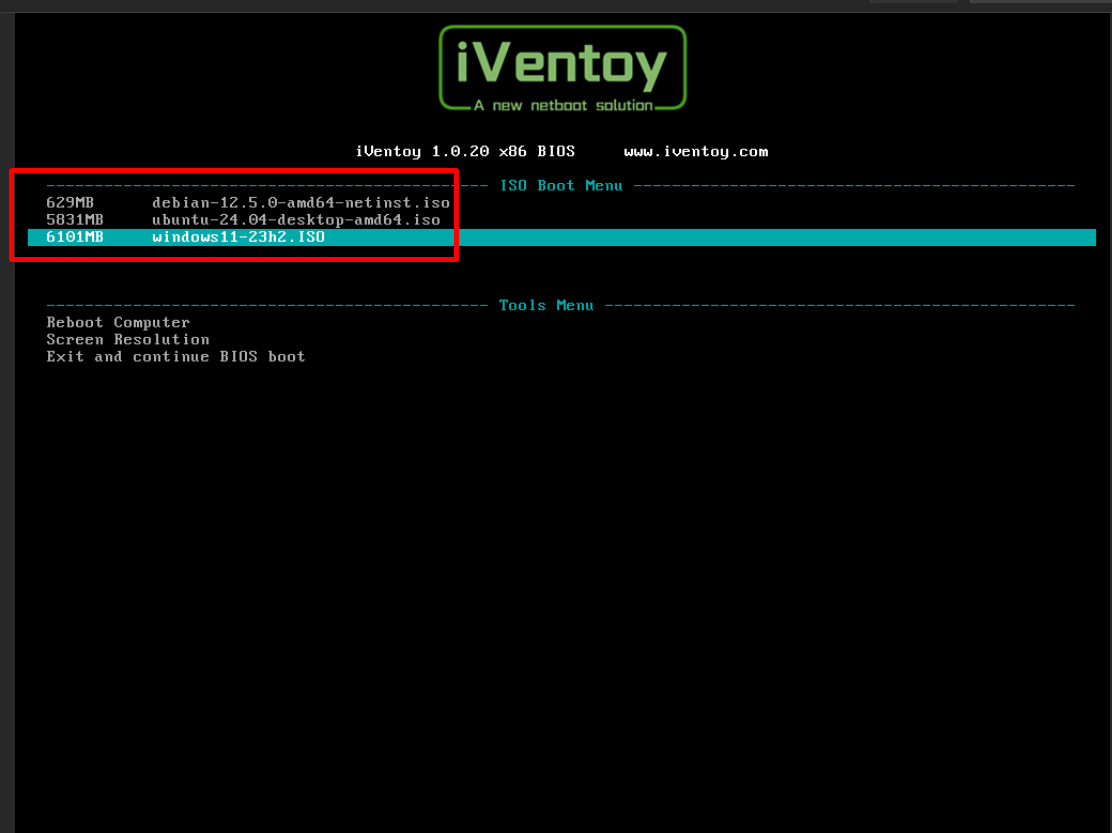
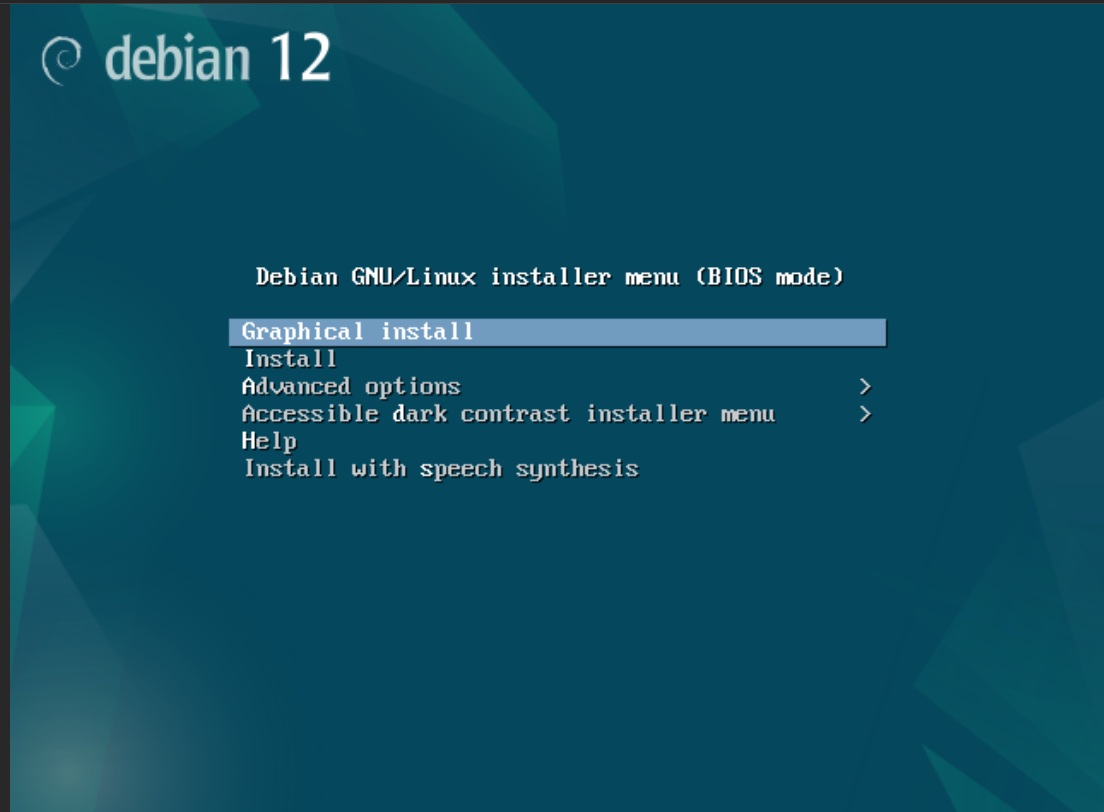
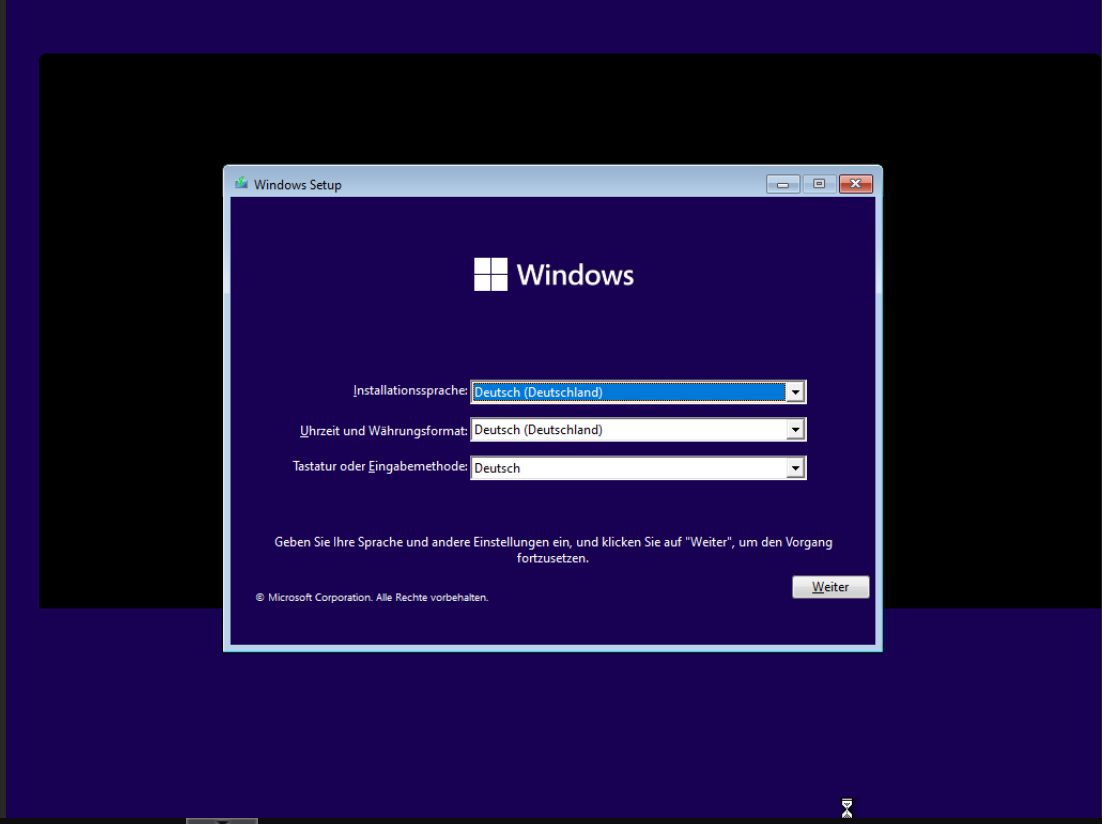
and after i boot with debian
")
Windows 11
have a nice day
-
Bonus: you could make auto install Scripts “unatended.xml, preseed.cfg, etc…”
for more information: https://www.iventoy.com/en/doc_autoinstall.html -
My home configuration network I have a pfSense box and a hypervisor with a fog server on a VM i’m thinking of adding another virtual Network to the to my fog server so I can run iventoy on another IP how do I configure the DHCP server on my PFsense box. The PFsense has only Next Server ip configurations
-
@llino said in Configure iVentoy as netboot-Option in boot menu:
i’m thinking of adding another virtual Network to the to my fog server so I can run iventoy
Just be aware that FOG was not designed to have 2 imaging network interfaces. So it will be difficult to have fog respond to both subnets independently.
-
i do not know how could you do it on web gui, but i can tell you how clould you deactive the web gui configuration file and instead use the CLI to edit the dhcpf.conf file directry then i will work. But remember after that any changes on webgui will not be effected that is mean you have put your new changes over CLI.
-
@youzersef What if your router providing next server is pfsense.
What needs to be changed in pfsense? My current settings are that of fog.
Pfsense : 10.22.24.1 : (controls DHCP, next server, etc)
Fog 10.22.24.5 : (Working flawless)
iVentoy : 10.22.24.13Everything I try is sending client back to pfsense, and then errors because it’s getting the boot file for fog, when it’s expecting iventoy_loader_16000
Thanks ! Time to get this project wrapped up
-
I am very interested in doing this. I have a working FOG server which is working in my home network with no mods to my router which is a Firewalla gold if it matters. I have several FOG menu items that work but I am finding it increasingly harder to keep them up to date, for example parted image, which I can’t get to work with the latest versions despite reading alot of stuff in the forums. I also created a ventoy USB which also seems to work with what I have added to it so far with a few exceptions but having it all be in PXE would be even better since it is centrally located. The problem I have run into with FOG booting ISOs almost always comes down to the size of ISO though. Does iventoy via PXE solve that by any chance? I can also pull apart the ISOs but then I am micromanaging and spending hours getting it all to work which I am trying to minimize. I like the nerdyness of it all but I have enough other nerdy projects for now. lol. Dropping ISOs into iVentoy PXE would be super simple. If anyone else has done this, could you post your configs for FOG please? I really prefer to not make changes to my Firewalla if possible. FWIW, I have wired ethernet throughout the entire house which made PXE booting pretty easy.
-
@youzersef Ok, see how long it takes me to get back on a project…lol
I did some more looking, and found yes, the GUI will re-write the dhcp config file. However I did some more reading and I guess services.inc determines what is written by the GUI.
Sorry, not a CLI guy, and I love the quick and easy edits, viewing issues that the GUI provides. Like Fog ! However my servers are headless…lol
Anyway, looking that route now, and will update if I find how Negate wants services edited so when it reboots, DHCP will remain.
Determined
Any thank you everyone here . This place has always been great for information !